User Guide
How to insert and remove the ballistic plate?
November 07, 2023
To insert the ballistic plate, follow these steps:
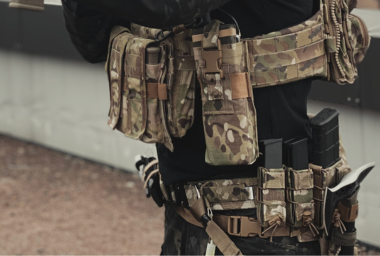
1. Ensure that your vest/plate carrier has the necessary pockets or compartments designed to hold ballistic plates. Most of them have front and back pockets for this purpose, while some have side pockets, too.
2. Start by unfastening any straps or closures on the vest/carrier to access the pockets.
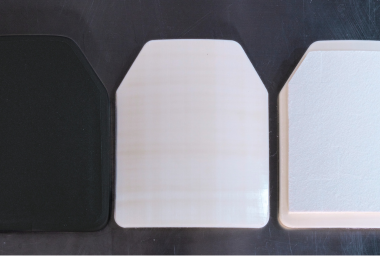
3. Take the ballistic plates and orient them correctly. Typically, the curved side of the plate, instead of the "STRIKE FACE" side, should face your body for better ergonomics and fit.
4. Slide the plates into the appropriate pockets. Make sure they are centered and aligned properly.
5. Once the plates are inserted, secure them in place by fastening any straps, Velcro closures, or buckles provided by the vest/carrier. Ensure that the plates are snugly held in position and do not shift around.
6. Adjust the straps to achieve a comfortable and secure fit. The vest/carrier should be snug but not overly tight, allowing for freedom of movement while maintaining proper protection.
To remove the ballistic plate, follow these steps:
1. Ensure that you are in a safe and secure environment before attempting to remove the ballistic plate.
2. Identify the location of the plate within the vest/plate carrier.
3. Unfasten any straps, closures, or buckles that are securing the plate in place.
4. Carefully reach into the pocket where the plate is located and grip the plate firmly.
5. Slowly and steadily pull the plate out of the pocket, being cautious not to damage the plate or the vest/carrier.
6. Once the plate is fully removed, set it aside in a safe and designated area.
7. If desired, repeat the process for any additional plates within the plate carrier.
Copyright © 2023. Beijing Aerospace Rate Mechanical & Electrical Engineering Co., Ltd. All Rights Reserved.